
The journal
What to put in the bottom of a pot to help with drainage?
Use a suitable potting mix and open drainage holes. A gravel layer under the mix does not cure drainage; support the container stably and manage runoff.
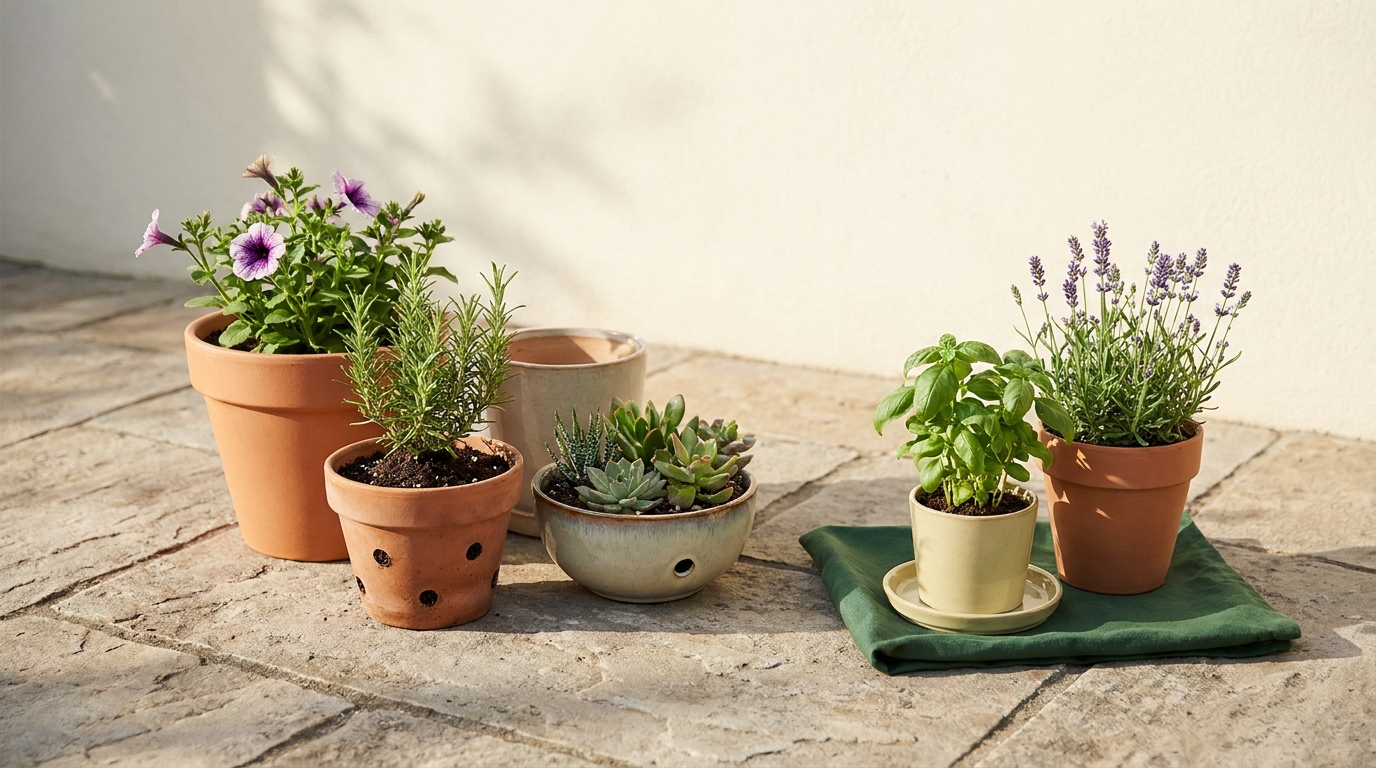
Fill the pot with a suitable potting mix and keep its drainage holes open. Do not add a gravel layer underneath the mix as a drainage cure. Raise an outdoor container where needed so its holes can discharge freely. The Royal Horticultural Society specifically recommends keeping drainage holes clear by lifting containers on pot feet or bricks, and removing trays in winter to avoid waterlogging (RHS container guide).
Why a gravel layer is not a drainage fix
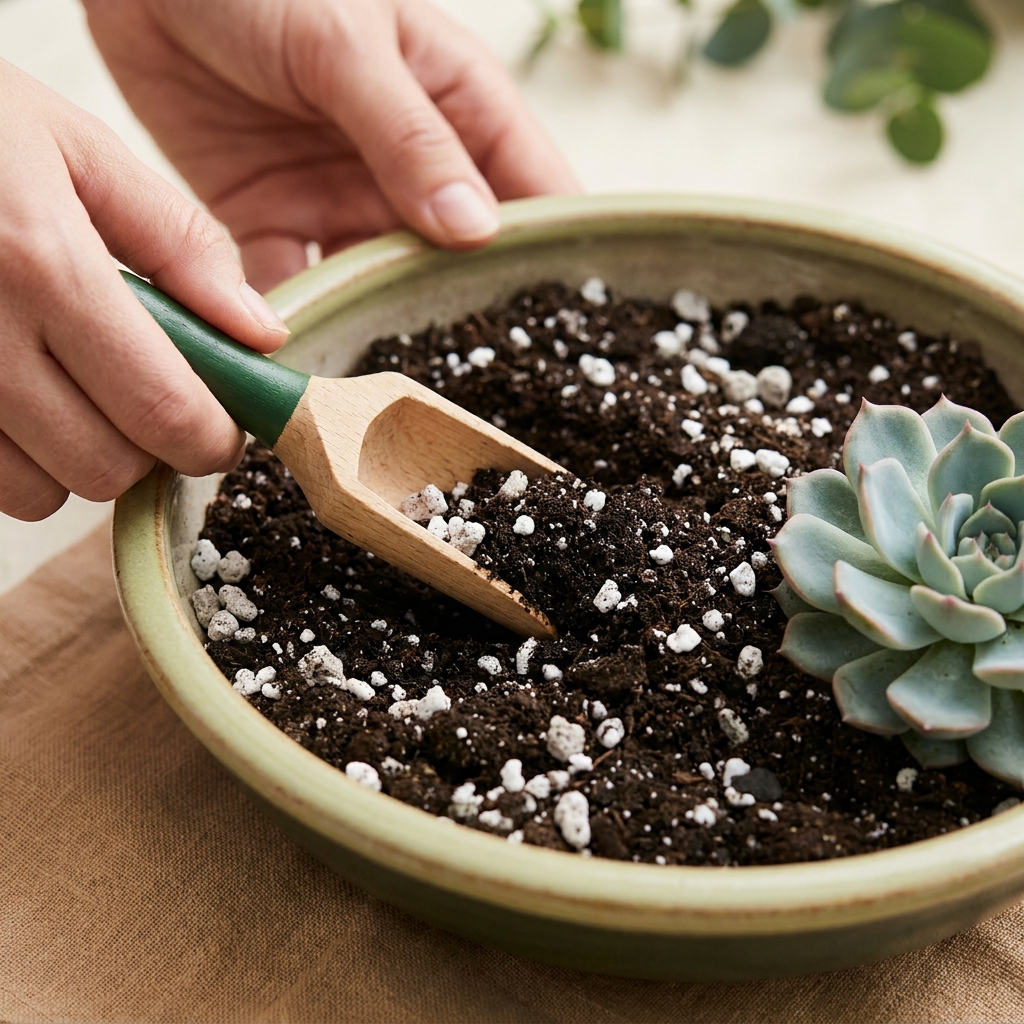
The key to drainage is letting excess water exit the pot quickly, then air return through the holes. The RHS notes that it’s essential to have drainage holes and to prevent waterlogging by ensuring those holes aren’t blocked (RHS container guide). Illinois Extension explains that water can collect in the finer mix above a gravel layer. The layer does not prevent the root zone becoming saturated. A potting-mix ingredient and a separate bottom layer are different things. Focus instead on:
- Open drainage holes
- Pot feet or bricks under the container
- Seasonal use of saucers or trays
How to use pot feet for better drainage
Step-by-step
- Check the base: Make sure the pot has holes. If not, choose a different pot for outdoor use or add holes appropriate to the pot material.
- Clean the holes: Brush away old compost or salts so water can exit freely.
- Place feet or bricks: Use supports suitable for the container’s shape and weight, leaving the drainage holes unobstructed. This gap stops holes sitting flat against paving or soil and keeps them clear (RHS container guide).
- Site on a firm surface: Position on level paving, deck, or a compacted gravel pad so the pot doesn’t rock and the holes stay open.
- Manage saucers: In summer, a saucer can catch excess water, which the RHS notes can help reduce waste. Empty it promptly after heavy rain and remove it before winter so pots aren’t left standing in water (RHS container guide).
What about putting anything inside the pot?
For drainage, you don’t need a layer of stones, broken pots, or similar inside. These don’t keep the holes clear and take up valuable rooting space. An important exception that’s not about drainage: if a container is tall and narrow and tends to blow over, the RHS advises adding a layer of bricks or stones in the base to help stabilise it (RHS container guide). That’s for weight and balance, not to improve drainage.
A quick example
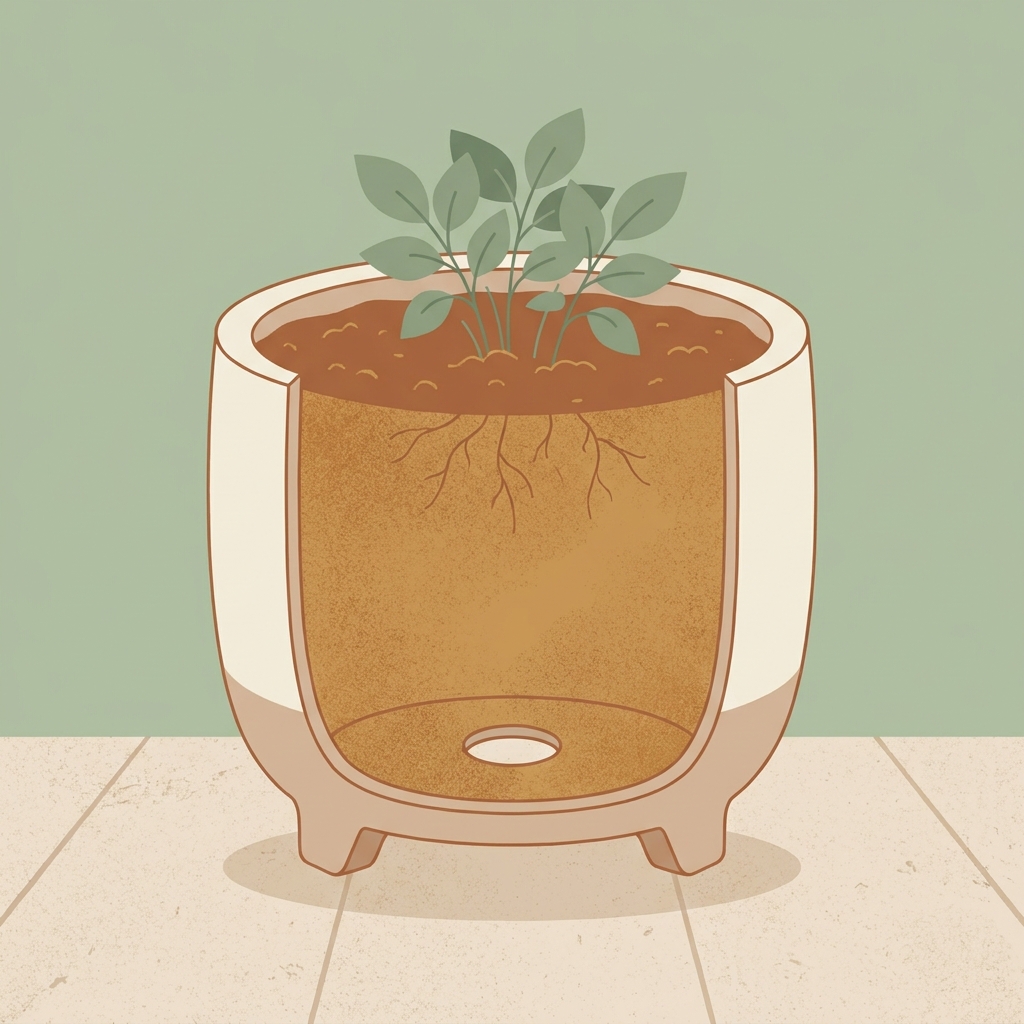
You’re potting a 30 cm terracotta pot for rosemary on a patio. The base has a single hole. Brush it clear, fill the pot with quality peat-free container compost, then support it stably with the drainage hole clear. Water thoroughly. Excess water runs out, and air gaps reopen as the mix drains. In hot weather, you can slide a saucer under to catch runoff, but remove it in autumn so winter rain can drain away freely (RHS container guide).
Put this into practice
Inspect the pot’s outlet and what sits beneath it before adding material. If water cannot leave the container, an extra layer inside is not a substitute for a functioning drainage route.
Set up drainage on a new patio pot
Good to know
- Winter care: Container plants are more vulnerable to waterlogging and frost. Raising pots and removing saucers in winter helps reduce root rot risk (RHS container guide).
- Overpotting: Going far bigger than the rootball can leave excess compost that stays wet too long. Choose only a slightly larger pot or group plants in larger containers (RHS container guide).
Related reading at Garden in Reach
FAQ
Can I use a saucer with pot feet?
Yes. In summer, a saucer can catch runoff, but don’t let the pot sit in water for long, and remove saucers before winter so pots aren’t left standing in water (RHS container guide).