
The journal
Collecting chive seeds from potted plants
Simple, reliable steps to harvest, dry and store chive seeds from a pot without spreading them everywhere.
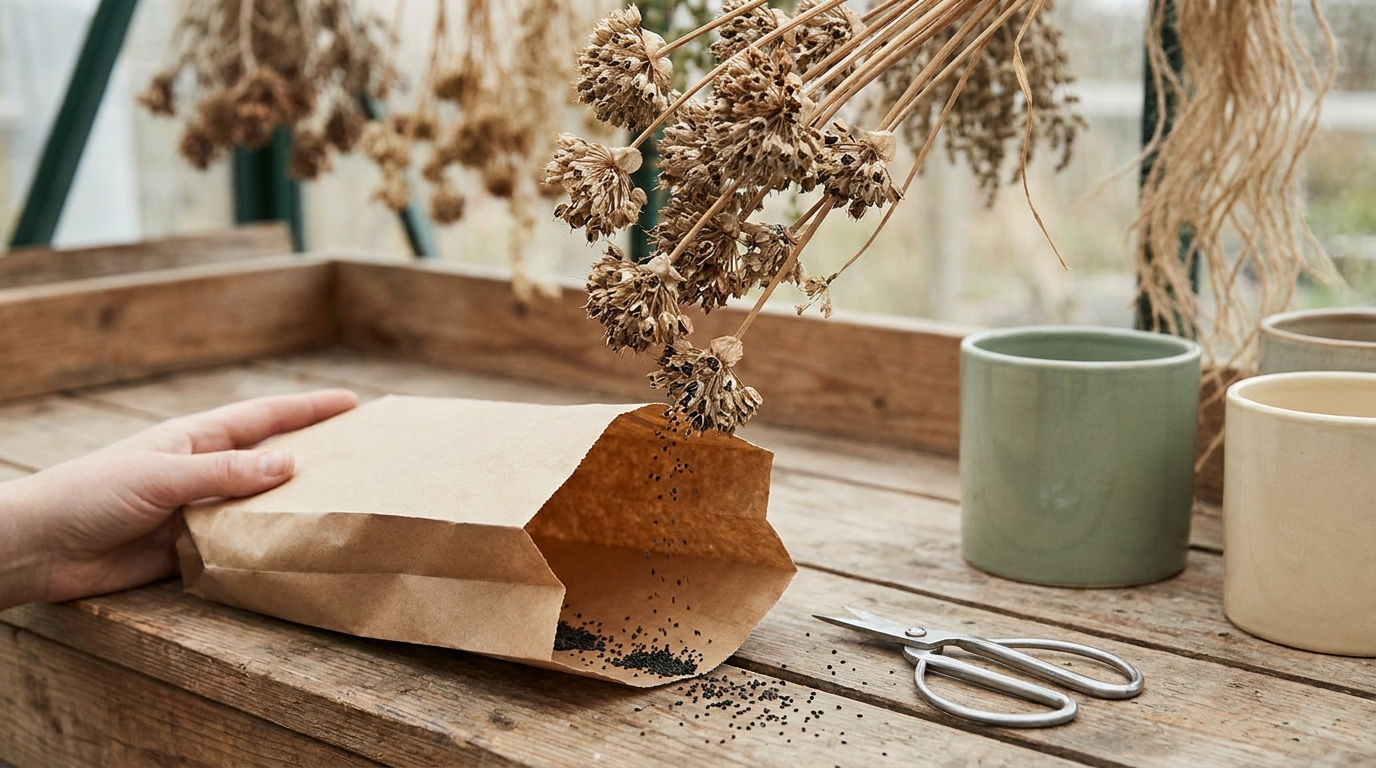
Wait until several chive flower heads have fully dried on the plant, then snip each head into a paper bag on a dry day. Let the heads finish drying indoors until the tiny black seeds drop out, then clean and store them in labelled envelopes in a cool, dry place.
Know when a chive seed head is ready
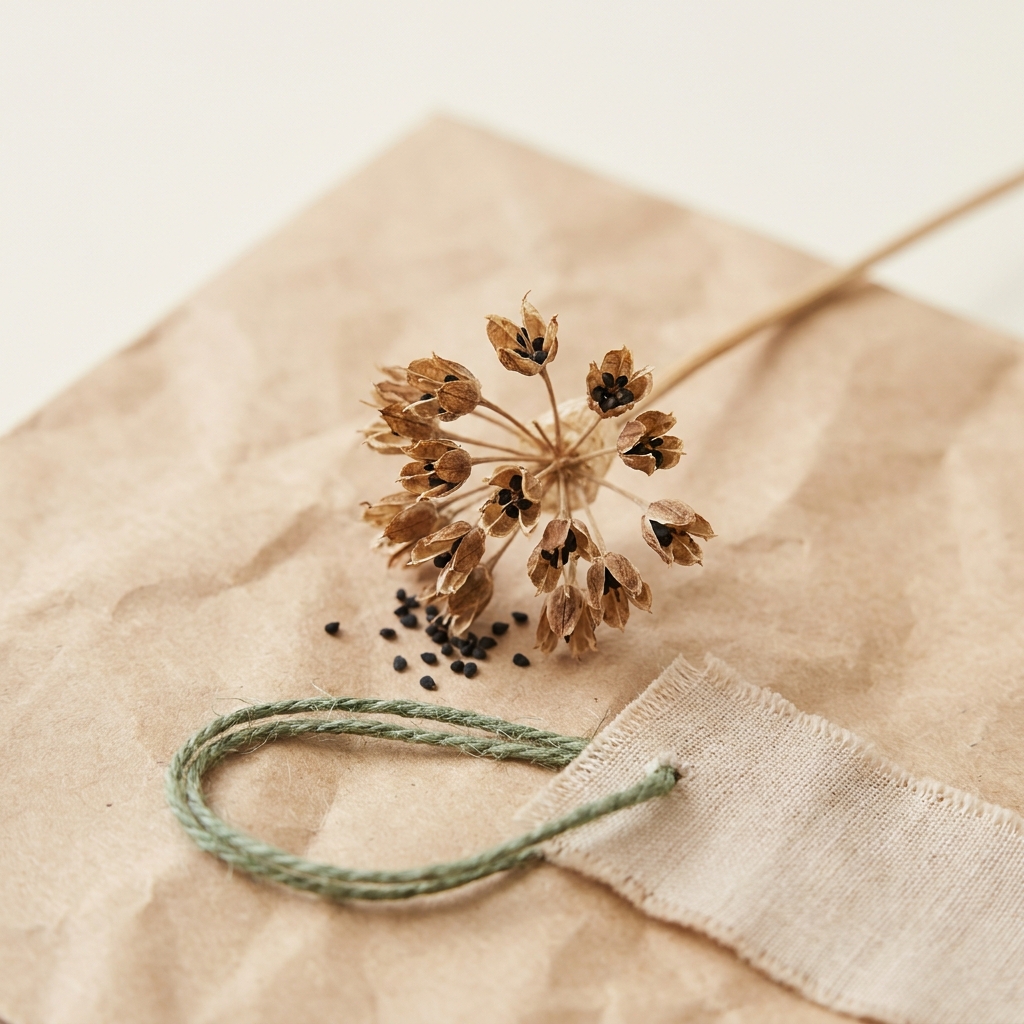
Chives produce pompom flowerheads in late spring and summer. If you want seed, leave some to mature rather than removing the stalks. Ripe heads feel papery and dry, and the little black seeds are visible or rattle when tapped. Chives readily self-seed, so plan to harvest before they scatter or deadhead the rest to prevent spread (RHS chives).
Step-by-step: collect seed from a potted chive
1) Choose the right day and heads
- Pick a dry day; moisture encourages mould on stored seed (RHS seed saving tips).
- Only take seed heads that are clearly ripening. Unripe heads do not finish ripening once picked (RHS seed saving tips).
2) Bag and cut
- Hold a paper bag or envelope over the head, tip the head inside and snip the flower stalk at its base. This keeps loose seed from spilling around your patio.
- Repeat for each ripe head and label the bag immediately with plant name and date (RHS seed saving tips).
3) Finish drying and release the seed
- Spread the bagged heads in a warm, dry, airy place. Once fully dry, gently crumble the heads so the seeds fall out, then remove chaff with a sieve or by lightly blowing it off (RHS seed saving tips).
Pot-specific tips that help
- Containers dry out more quickly, so keep compost evenly moist while heads ripen, but avoid wetting seed heads just before harvest (RHS chives).
- Make sure your pot has drainage holes to prevent waterlogging, which can spoil ripening heads and harm roots (RHS containers).
- To avoid unwanted seedlings, deadhead all remaining stalks right after your seed harvest (RHS chives). See our quick guide to technique: How do I deadhead flowers?
Store your chive seed well
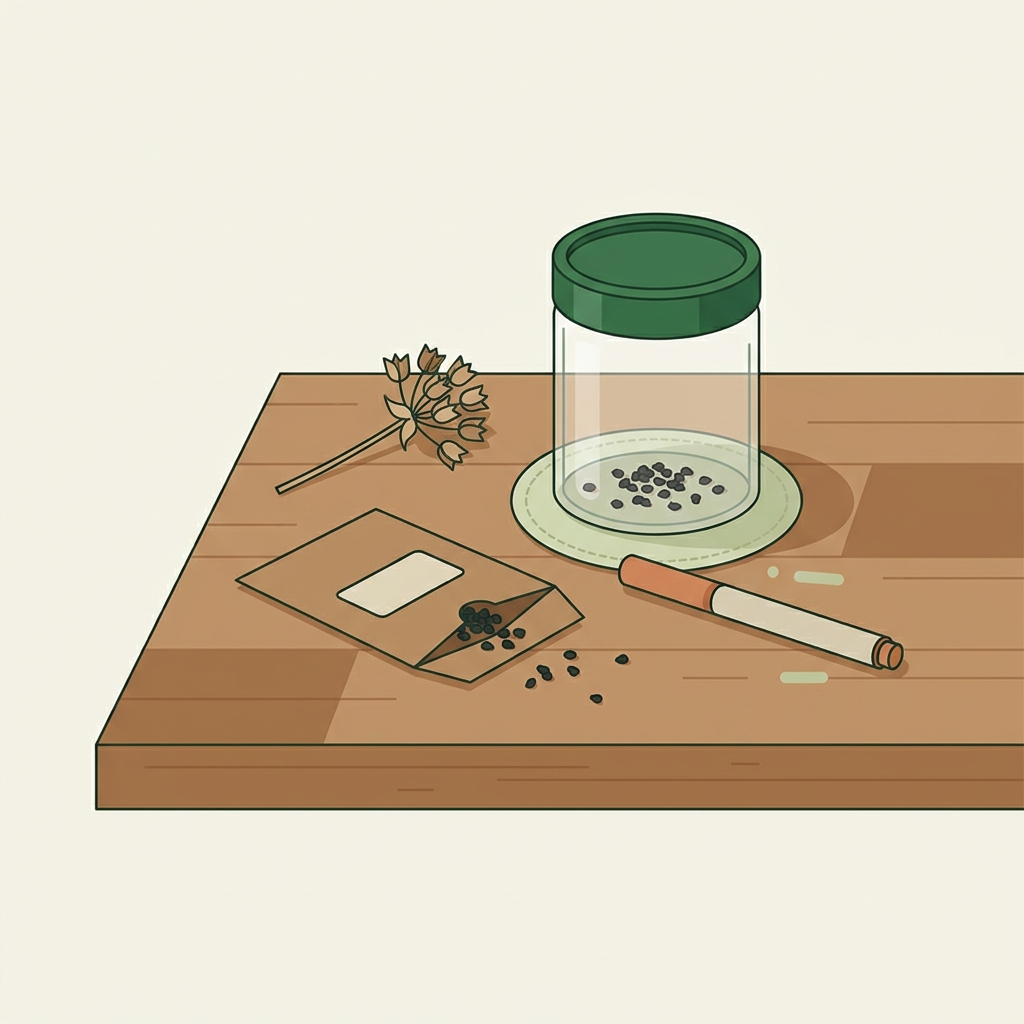
Tip cleaned seed into labelled paper envelopes and keep them in a cool, dry spot; you can place envelopes inside an airtight tin with a small silica gel sachet to absorb moisture (RHS seed saving tips). For container gardeners weighing storage options, see: Is it OK to store seeds in Ziploc bags?
Use your saved seed next season (in pots)
- When: Sow indoors in early spring for planting out in late spring, or sow directly in spring/summer (RHS chives).
- Depth: Sow 0.5-1 cm deep in modules or small pots of peat-free seed compost; keep slightly moist (RHS chives).
- Pot up: Grow on and transplant into a container at least 20 cm wide and deep, filled with a peat-free, soil-based compost; water through the growing season to keep compost evenly moist (RHS chives).
After you’ve harvested seed
Once you’ve finished collecting, cut the whole clump down to about 5 cm to stimulate a flush of fresh foliage for the kitchen (RHS chives).
Put this into practice
Label the plant and collection date before separating seed from the flower head. Keep a small, clearly labelled batch and check its storage condition instead of mixing uncertain seed into the whole supply.
Quick checklist: collecting chive seed from a pot
Short FAQs
Will chives still produce leaves after I let some heads go to seed?
Yes. After you collect seed, cut the clump back to about 5 cm to trigger a fresh flush of leaves for harvesting (RHS chives).
Can I just let seeds drop in the pot?
Chives readily self-seed; you can let some drop if you want new plants. If you prefer tidy pots, harvest heads and deadhead the rest (RHS chives).

Saving seed is different from preserving edible leaves. Stirred Daily explains why some herbs lose useful qualities when dried. Which herbs are not good dried?.