
The journal
Beginner’s guide to growing microgreens at home
A clear, practical start-to-finish method for your first tray of microgreens with simple supplies, step-by-step instructions, light and watering tips, and safe cleanup.
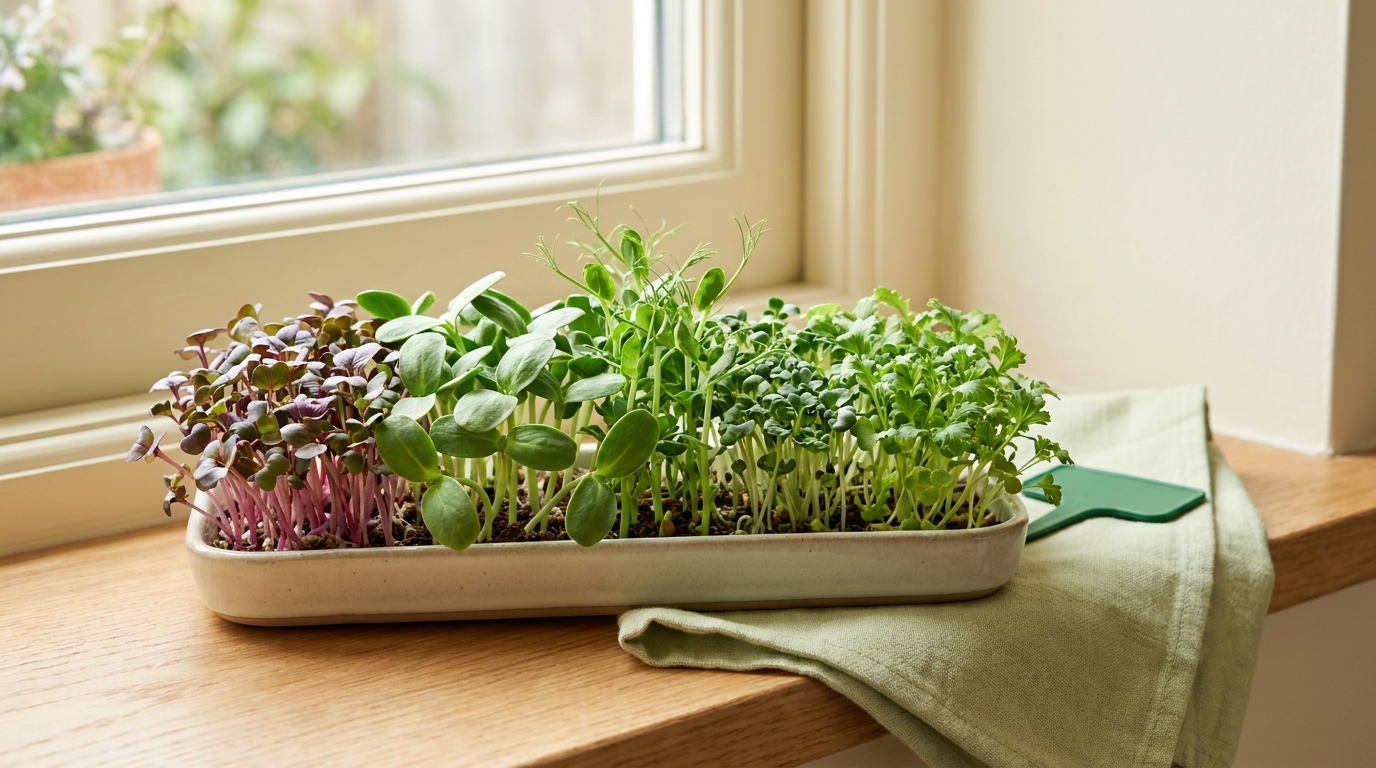
Quick answer: Start with a shallow tray, a lightweight soilless mix or a single-use microgreen mat, and untreated seeds. Moisten the medium, sow densely and press seeds into contact, give a short dark period while they germinate, then provide strong light, keep the medium moist (not wet) by bottom watering, and harvest at the first true-leaf stage by cutting above the medium. Most crops are ready in 7 to 21 days at about 2 to 3 inches tall (https://extension.umd.edu/resource/growing-microgreens-and-baby-greens-indoors; https://extension.psu.edu/a-step-by-step-guide-for-growing-microgreens-at-home).
What you need
- Seeds suitable for microgreens (untreated/food grade). Larger seeds like peas and sunflower benefit from soaking 6 to 12 hours before sowing (https://extension.umd.edu/resource/growing-microgreens-and-baby-greens-indoors).
- Shallow food-safe tray(s). Use trays with drainage for soilless mix, or a solid tray as a reservoir for bottom watering (https://extension.umd.edu/resource/growing-microgreens-and-baby-greens-indoors).
- Growing medium: a lightweight soilless mix (peat/coir blends with perlite/vermiculite) or single-use natural fiber mats sized to your tray (https://extension.umd.edu/resource/growing-microgreens-and-baby-greens-indoors).
- Watering tools: spray bottle for initial misting and a pitcher for bottom watering.
- Light: bright window or, better, a simple fluorescent or LED grow light (https://extension.umd.edu/resource/growing-microgreens-and-baby-greens-indoors).
- Clean scissors or a sharp knife for harvest.
First-tray microgreens setup checklist
Step-by-step: your first tray
1) Prepare tray and medium
Clean trays, then fill a tray with 1 to 1.5 inches of pre-moistened soilless mix. Set the tray into a solid reservoir and bottom-water briefly to ensure even moisture; let excess drain. If using a mat, place it into the tray and moisten per product guidance (https://extension.umd.edu/resource/growing-microgreens-and-baby-greens-indoors).
2) Sow and start germination
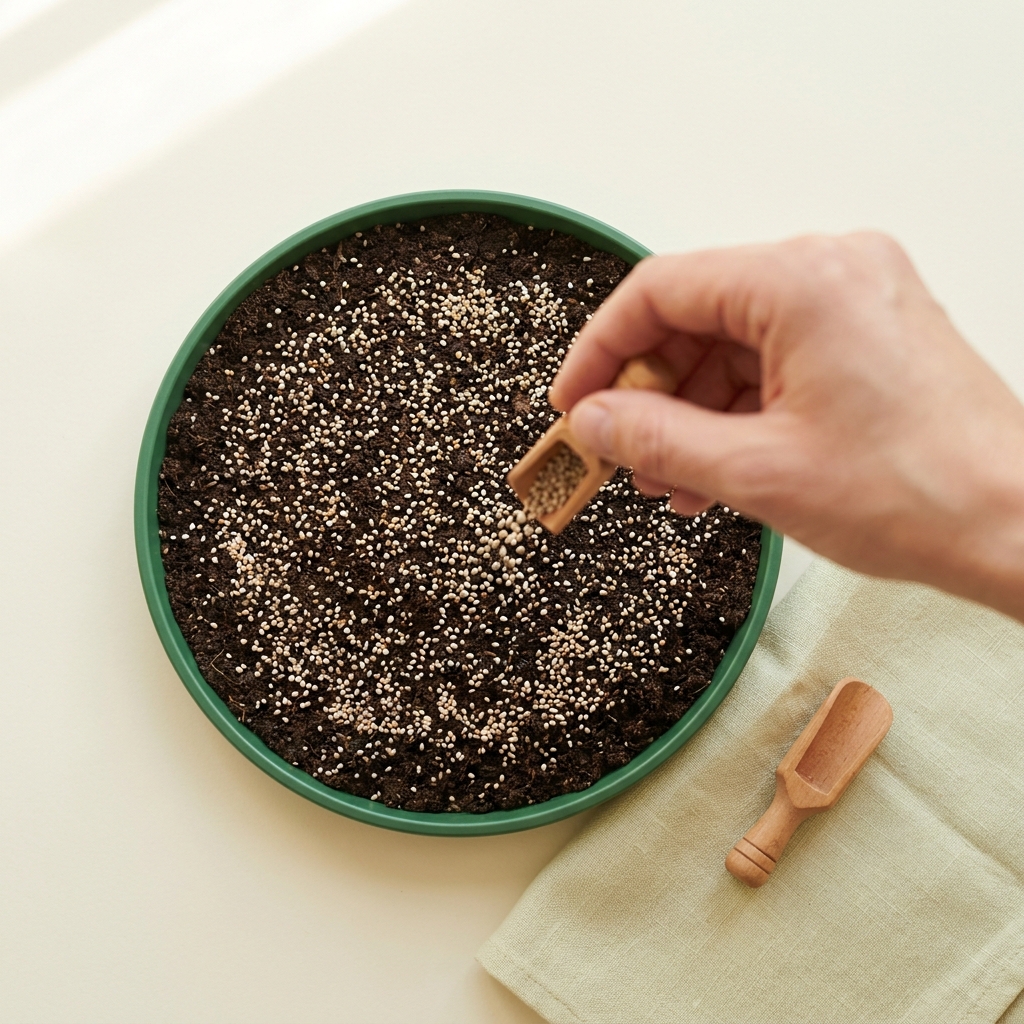
Sow seeds thickly and evenly over the surface and press them into contact. For larger seeds such as peas and sunflower, pre-soak 6 to 12 hours, then sow. Cover to create a dark, humid environment for a few days; some growers add gentle weight to keep larger seeds in contact with the medium. Keep the surface just moist during this stage (https://extension.psu.edu/a-step-by-step-guide-for-growing-microgreens-at-home; https://extension.umd.edu/resource/growing-microgreens-and-baby-greens-indoors).
3) Light and temperature
When most seeds have germinated and anchored, remove covers and provide strong light. Microgreens grow best with about 16 hours of fluorescent or LED light daily, typically 6 to 12 inches above the foliage; a bright window can work but often gives leggier growth (https://extension.umd.edu/resource/growing-microgreens-and-baby-greens-indoors).
4) Water and airflow
Keep the medium evenly moist, not saturated. Bottom water to reduce stem and leaf wetness and encourage steady growth, and provide gentle airflow to deter mold (https://extension.umd.edu/resource/growing-microgreens-and-baby-greens-indoors).
5) Harvest and store
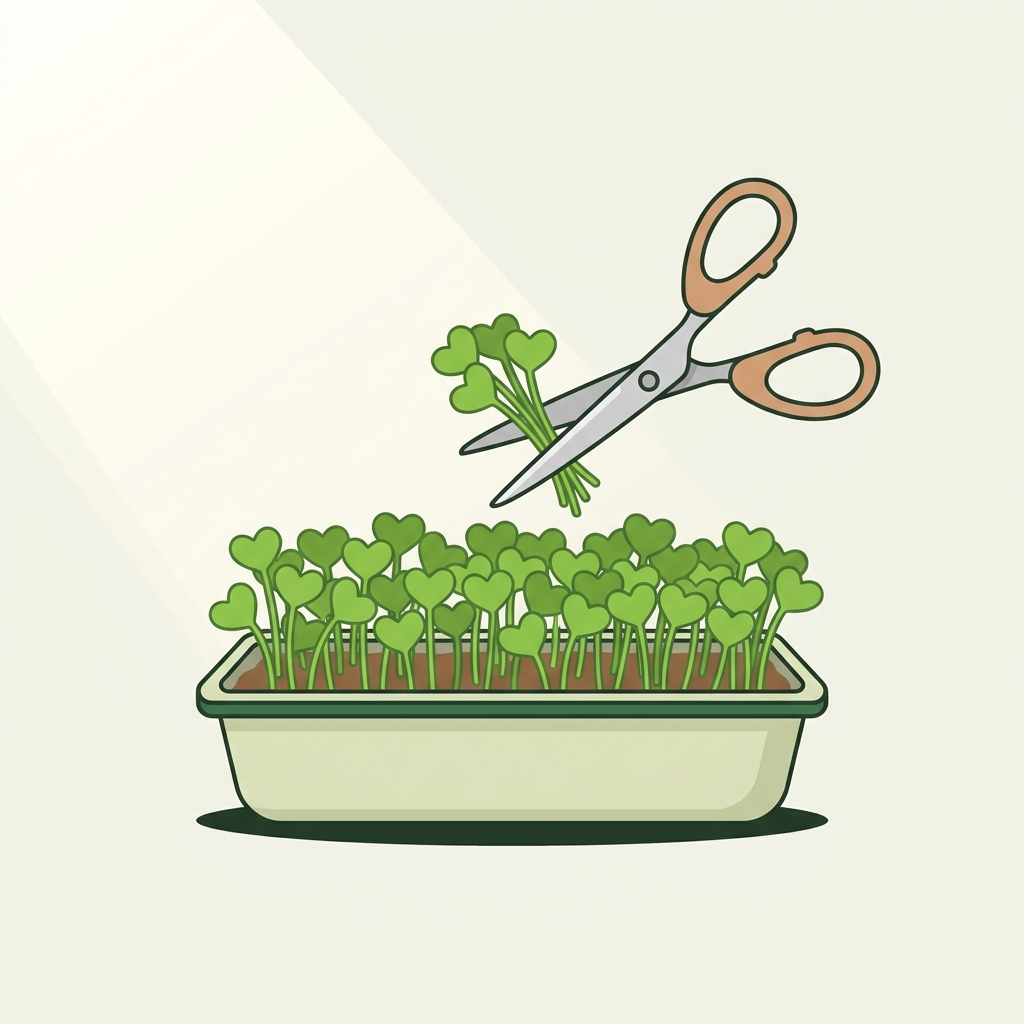
Harvest once the first true leaves have expanded, typically at 2 to 3 inches tall and 7 to 21 days after sowing depending on crop and conditions. Cut just above the medium with clean scissors. Rinse, pat dry, and use right away or refrigerate for up to 10 days (https://extension.umd.edu/resource/growing-microgreens-and-baby-greens-indoors).
Soil or mats? And how microgreens differ from sprouts
Soilless mixes are forgiving and widely available; single-use natural fiber mats offer a tidy, soil-free option sized for standard flats (https://extension.umd.edu/resource/growing-microgreens-and-baby-greens-indoors). Unlike sprouts, which are germinated in water in dark, humid containers, microgreens grow in light on a thin layer of medium and you harvest the tops, not the roots (https://www.foodgardenlife.com/learn/grow-microgreens).
Choosing beginner-friendly seeds
Fast, reliable starters include peas, radish, broccoli, and sunflower. Many brassicas (kale, cabbage, mustard, arugula) germinate and grow quickly; peas and sunflower give crunchy, larger shoots. Use untreated or food-grade seed; seeds sold specifically for microgreens or sprouting are typically uncoated and suitable for eating as seedlings (https://extension.umd.edu/resource/growing-microgreens-and-baby-greens-indoors; https://www.foodgardenlife.com/learn/grow-microgreens).
Common problems and quick fixes
- Leggy, pale growth: Increase light intensity or move lights closer (6-12 inches). Consider switching from window-only to a simple grow light (https://extension.umd.edu/resource/growing-microgreens-and-baby-greens-indoors).
- Mold or musty smell: Improve airflow, reduce surface wetting, and bottom water. Avoid saturating media (https://extension.umd.edu/resource/growing-microgreens-and-baby-greens-indoors).
- Poor or uneven germination: Check seed freshness, keep the surface consistently moist during the covered period, and soak large seeds before sowing (https://extension.psu.edu/a-step-by-step-guide-for-growing-microgreens-at-home).
If fungus gnats show up around indoor containers, see our practical plan: How to keep fungus gnats out of potted plants.
Cleanup, reuse and your next sowing
After harvest, wash and reuse trays. You can screen and reuse growing media by blending old media 50:50 with fresh mix for the next batch, provided the previous tray was healthy. If you saw mold or other issues, compost the media and start with fresh mix (https://extension.umd.edu/resource/growing-microgreens-and-baby-greens-indoors). Microgreens are a single-harvest crop; re-sow for a steady supply. Daily care is brief but essential, and small, frequent sowings prevent waste (https://www.gardenary.com/blog/the-pros-and-cons-of-growing-microgreens-at-home; https://extension.umd.edu/resource/growing-microgreens-and-baby-greens-indoors).
Ready to branch into other easy edibles? Try containers of lettuce next: How deep do containers need to be for lettuce?

FAQ
Do I need grow lights to succeed?
No, a bright window can work for some crops, but grow lights make growth more uniform and less leggy. Aim for about 16 hours per day with lights 6-12 inches above the canopy (https://extension.umd.edu/resource/growing-microgreens-and-baby-greens-indoors).
Will my microgreens regrow after cutting?
Don’t expect regrowth. For most species the seedlings do not regrow after harvest; plan to re-sow successive trays (https://extension.umd.edu/resource/growing-microgreens-and-baby-greens-indoors).