
The journal
What are the biggest mistakes when repotting? Practical fixes for root-bound plants
Practical guide to repotting root bound plants, avoid common mistakes and follow clear steps for pot size, fresh mix, root care and aftercare.
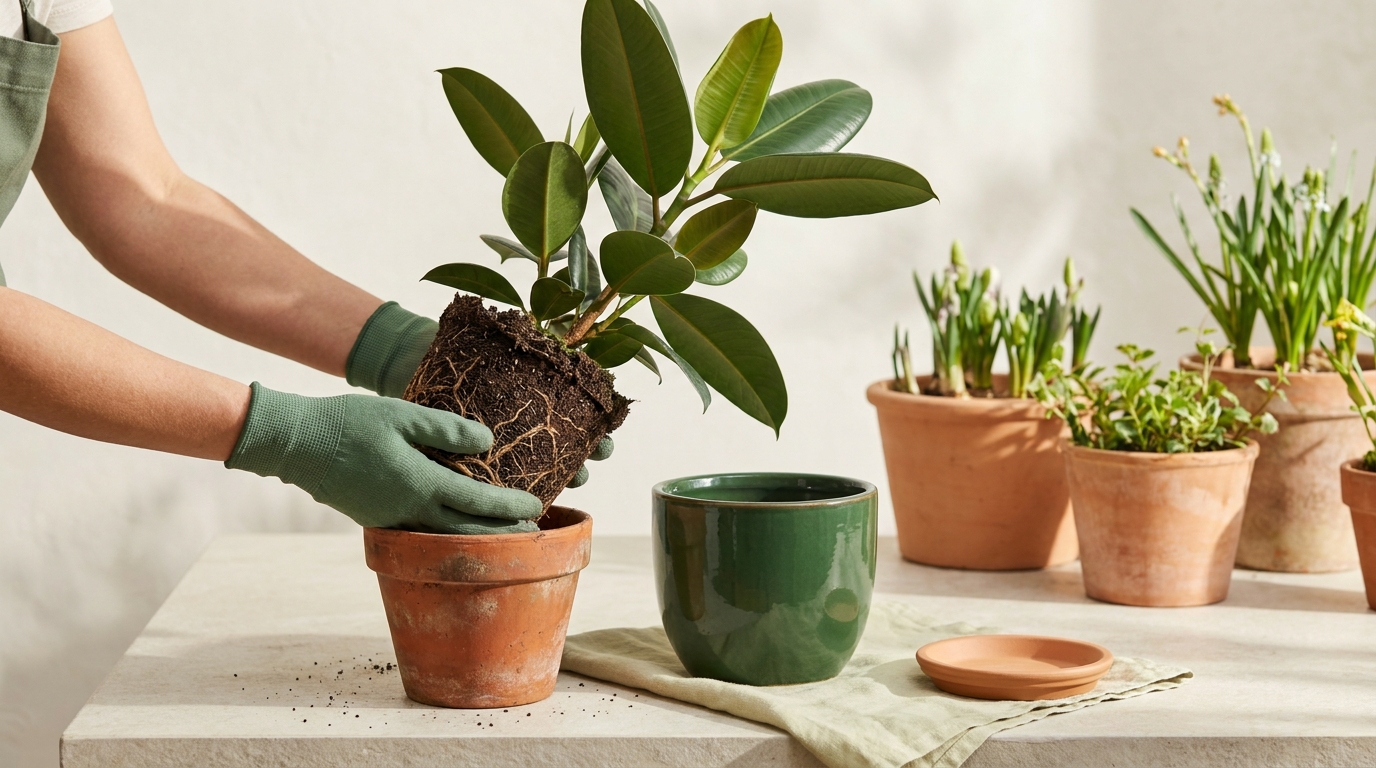
Why repotting root-bound plants matters
repotting root bound plants: key signs
Root-bound plants show a few common, visible signs: circling roots around the root ball, roots forcing their way through drainage holes, soil that dries very quickly, or water that runs straight through the pot without soaking in. These are practical signals that the plant needs more room or fresh media to regain balanced water and nutrient uptake, so watch for them on regular checks of container plants.
Being root-bound means the roots have filled their container and often grown in tight, interwoven patterns that restrict water movement and root spread. For a familiar example, a common houseplant such as a pothos or a peace lily may suddenly seem thirsty despite regular watering because the compact root ball prevents even moisture distribution and stops new roots from reaching fresh mix, a phenomenon documented by extension resources University of Minnesota Extension.
Repotting is corrective but not always urgent; the key is to act when visual or functional signs appear rather than on a fixed schedule. If left too long, circling roots can girdle new growth and reduce the plant's ability to recover, so timely, careful repotting helps restore healthy root function Royal Botanic Gardens, Kew advice.
When to repot and choosing the right pot size
Signals that it is time to repot include the visible circling roots, roots emerging from drainage holes, soil that dries very quickly after watering, and water running straight through the container without being absorbed. These signs are reliable prompts to consider repotting rather than guessing by calendar alone University of Minnesota Extension.
When you decide to repot, avoid the temptation to jump several pot sizes at once. Move only to the next pot size up, typically about 2 to 5 cm, or 1 to 2 inches, wider than the current container. Choosing a much larger pot can leave too much moist mix around roots and raise the risk of rot, so incremental increases keep moisture balance manageable.
Practical checklist for choosing pot size: 1) Confirm clear root-bound signs, 2) pick the next size up rather than a large jump, 3) ensure the new pot has drainage holes, and 4) consider container material. Porous materials like terracotta dry faster and suit plants that dislike wet feet, while non-porous materials retain moisture longer; match this to your plant's needs and watering routine University of Minnesota Extension.

Potting mix, drainage and container selection
Fresh, purpose-made potting mix is recommended for container plants because these mixes balance aeration and water retention better than garden soil. A correct potting medium helps roots access oxygen and moisture without becoming waterlogged, which is essential after repotting when roots need to reestablish.
A persistent myth is that adding gravel or coarse material to the bottom of a pot improves drainage. In practice this only creates different moisture layers and can make the root zone wetter, not drier. Extension guidance clearly states that gravel at the bottom does not solve drainage problems; using a fresh mix and a pot with drainage holes is the effective approach Washington State University Extension analysis.
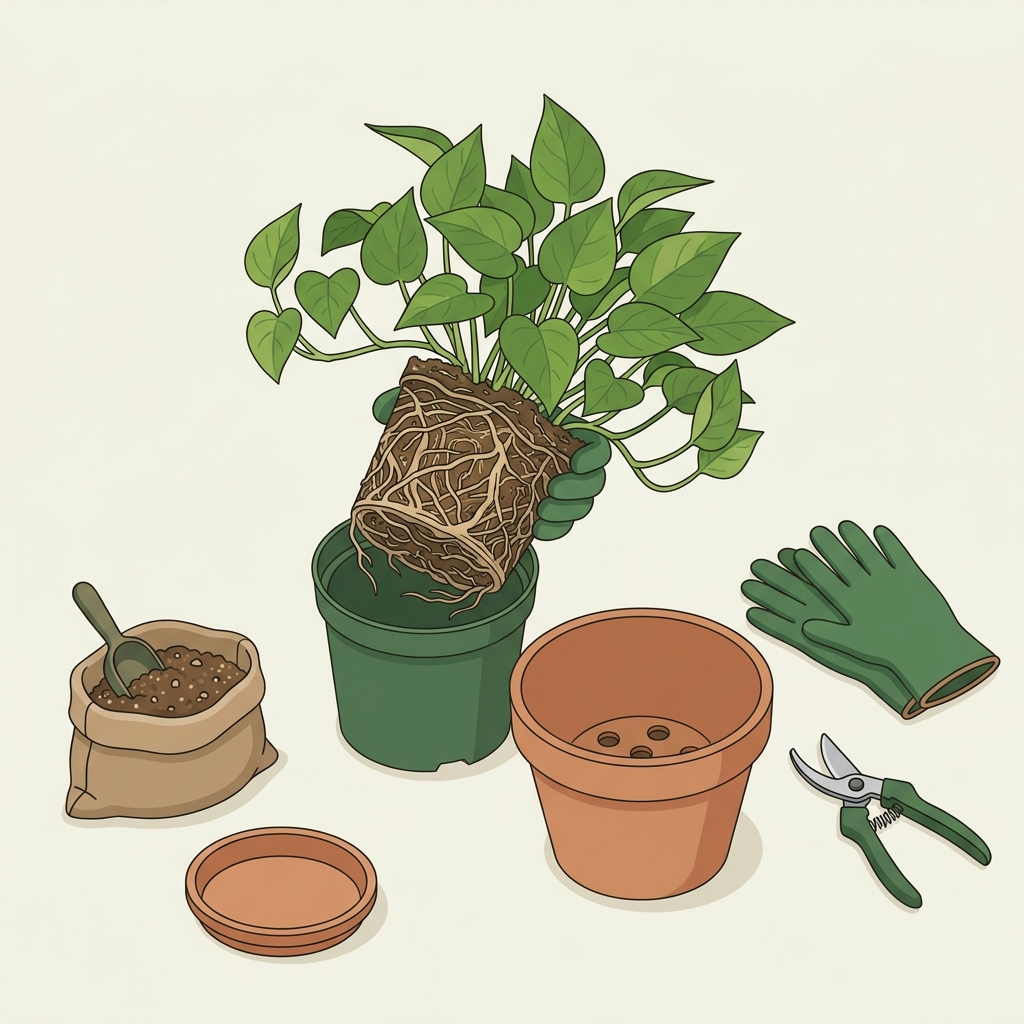
Quick list of tools to repot root-bound container plants
Choose a mix suited to the plant's habit: airier mixes for epiphytic or trailing species and mixes with more moisture retention for broadly thirsty houseplants. Do not use garden soil in pots; it compacts and reduces aeration. Fresh mix also brings renewed nutrients and a consistent texture that helps roots expand into their new environment.
How to handle roots: step-by-step for root-bound plants
Prepare a clean workspace and basic tools: a flat surface or tray to work on, gloves, clean sharp shears, a trowel, your chosen new pot and fresh potting mix. A clean area and sterile tools reduce the chance of introducing disease when roots are exposed Royal Botanic Gardens, Kew guidance.
Carefully remove the plant from its pot, tipping it gently while supporting the stem and root ball. Inspect the root ball for circling roots, dead sections and compacted outer mats; this inspection guides how aggressive your root work should be and tells you whether simple loosening is enough or whether slices and pruning are needed.
If the outer roots form a tight, dense mat that holds the soil shape, gently tease the outer layer with your fingers. For severely bound root balls, make a few vertical slices through the root mass and untwist circling roots before placing the plant in fresh mix. Remove clearly dead roots and avoid removing large amounts of live root mass; the goal is to free the roots so they can grow outward into the new medium without girdling Royal Botanic Gardens, Kew guidance.
Position the plant so the crown sits at the same depth as before; burying the crown deeper or leaving it much higher can stress the plant. Fill around the root ball with fresh potting mix, firm lightly to remove large air pockets, and water thoroughly to settle the medium. Keeping the crown depth unchanged and using fresh mix reduces shock and supports steady recovery.
Common mistakes when repotting and how to avoid them
Biggest mistake 1, overpotting: choosing a new pot that is too large leaves excess wet mix around roots. That extra moisture increases risk of root rot because roots cannot use all the available moisture evenly; instead, pick the next pot size up to keep moisture predictable and encourage roots to fill the new space gradually.
Biggest mistake 2, using garden soil or old, exhausted mix: garden soil compacts in containers and reduces aeration, while old mix can be depleted of structure and nutrients. Replace the media with a fresh potting mix matched to your plant instead of reusing heavy, compacted potting material.
Biggest mistake 3, poor drainage: repotting into a container without adequate drainage or layering with gravel to "improve" drainage are common errors. Ensure the pot has drainage holes and use an appropriate fresh mix to maintain proper drainage and aeration around roots Washington State University Extension analysis.
Biggest mistake 4, rough handling and damaging roots: tugging aggressively at the root ball or cutting too many live roots can set the plant back. Work gently, prune only dead or circling roots, and remember that most plants recover faster with minimal necessary root loss rather than aggressive root removal Royal Botanic Gardens, Kew guidance.
Biggest mistake 5, poor timing and immediate feeding: repotting at the wrong time or adding fertilizer immediately after repotting can stress the plant. For most houseplants, repot during active growth periods such as spring to early summer, and delay fertilizing until you see steady new growth to avoid burning roots or stimulating top growth before the roots are ready University of Minnesota Extension guidance.
Simple fixes and preventive steps for these mistakes include following the next-size-up rule, using fresh potting mix, ensuring drainage, handling roots with care, timing repotting to active growth, and withholding fertilizer for a few weeks until recovery is underway.
Aftercare checklist and troubleshooting
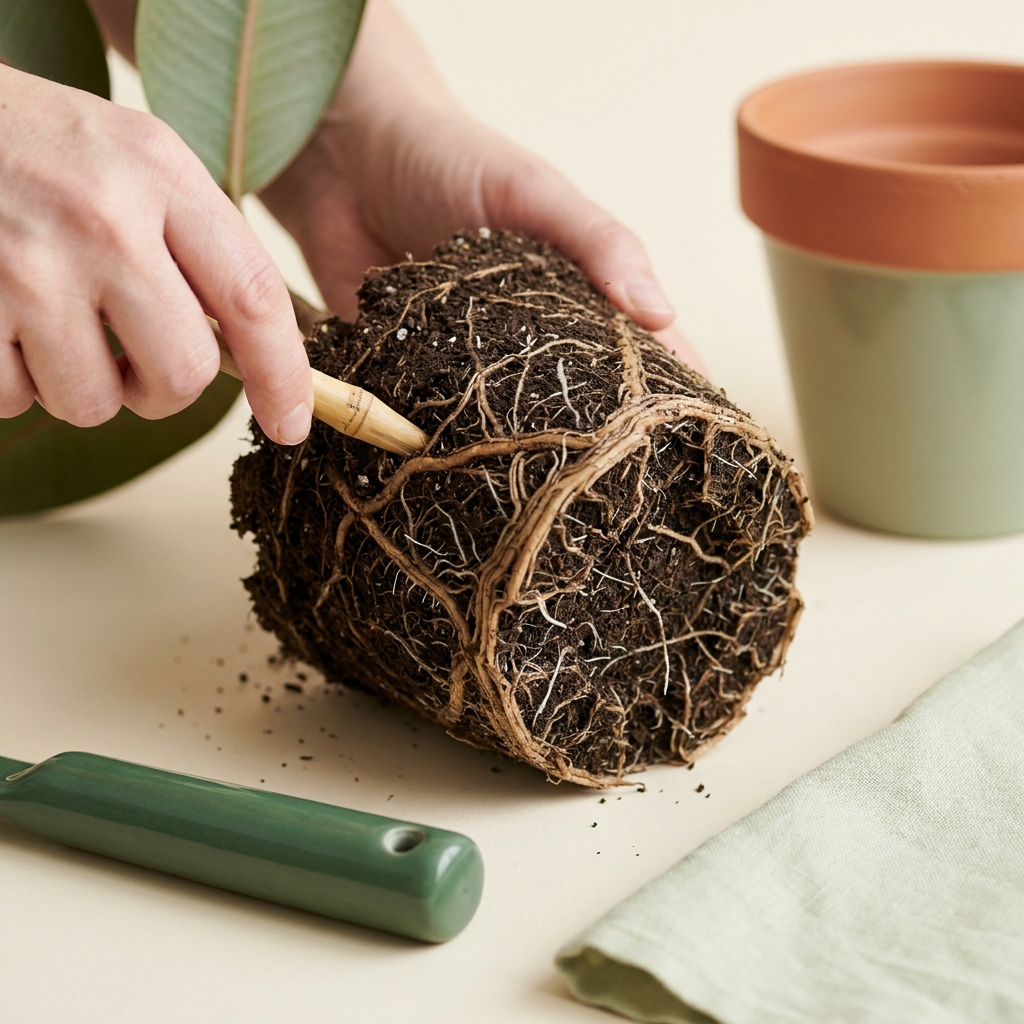
Immediate aftercare starts with a thorough watering to settle the fresh mix and remove large air pockets, while keeping the crown at the same depth as before repotting. Place the plant where it is protected from strong direct sun or drafts for a short recovery period and avoid moving it repeatedly as new roots establish.
Delay fertilizing until you observe new growth, often several weeks, because fresh potting mix and disturbed roots can be sensitive to soluble salts and excess nutrients. Waiting gives roots time to expand into the new media and reduces the chance of fertilizer stress University of Minnesota Extension guidance.
Watch for recovery signs such as steady new leaves, improved turgor and roots beginning to grow into the fresh mix. Warning signs that need early action include persistent waterlogging, wilting that does not improve after placement and watering, or rapid yellowing of leaves; address these by checking drainage, reducing watering and, if necessary, inspecting the root ball again for rot.
A simple monitoring timeline: check the plant weekly for the first month after repotting, adjust light and watering conservatively, and avoid heavy pruning or another repot until the plant shows steady recovery. If decline continues beyond several weeks, consider a careful reinspection of roots, soil moisture and pot size choices.
Final notes on repotting success
Repotting root-bound plants works best when you combine correct pot sizing, clean media and gentle root handling. Small, thoughtful changes let roots expand naturally into new mix and reduce shock, which is why following the steps above improves the chances of a smooth recovery.
Keep a simple routine: inspect containers every few months, repot only when clear signals appear, and give repotted plants consistent but conservative aftercare. These habits help container gardeners keep plants healthy in small spaces and containers without unnecessary stress or repeated mistakes.
What are the biggest mistakes when repotting?
The biggest mistakes are overpotting into a much larger container, using garden soil or old mix, poor drainage or relying on gravel at the bottom, rough root handling, repotting at the wrong time, and fertilizing immediately after repotting.
Frequently asked questions
How do I know if a plant is root-bound?
Look for circling roots, roots from drainage holes, soil that dries fast, or water running straight through the pot; these are clear signs of root binding.
How much larger should the new pot be?
Choose the next pot size up, typically about 2 to 5 cm (1 to 2 inches) wider than the current pot to avoid overpotting.
Should I add gravel to the bottom of pots for drainage?
No, adding gravel does not improve drainage and can create moisture layers; use a pot with drainage holes and fresh potting mix instead.
Careful repotting is a small investment of time that prevents larger problems later. Follow the next-size-up rule, use fresh mix, protect roots during handling and give conservative aftercare to help repotted plants recover. If a plant does not improve after several weeks of careful follow-up, recheck drainage and roots and adjust light and watering before making more major changes.
References
- https://extension.umn.edu/houseplants/repotting-houseplants
- https://www.kew.org/read-and-watch/how-to-repot-houseplants
- https://s3.wp.wsu.edu/uploads/sites/403/2015/03/container-drainage.pdf
- https://gardeninreach.com/guides/plant-pots-and-containers/
- https://gardeninreach.com/guides/potting-mix-and-plant-care/
- https://gardeninreach.com/guides/
- https://fieldreport.caes.uga.edu/publications/C1240/repotting-basics/
- https://extension.illinois.edu/houseplants/repotting
- https://www.uaex.uada.edu/counties/white/news/horticulture/20210428RepottingHouseplants.aspx
Product options for this topic
As an Amazon Associate I earn from qualifying purchases. These are researched options, not hands-on test results. Check the exact size or model, current price and availability on Amazon.
| Product option | Fit and limits to check | Retailer |
|---|---|---|
| Corona ComfortGEL hand cultivator | A hand cultivator for loosening surface soil in small spaces. Work around roots gently and match the tool to your soil conditions. | View on Amazon |