
The journal
Can a plant recover from being root bound? Practical steps for container gardeners
repotting root bound plants, a practical guide to assess recovery, repot safely, and choose pruning or upsizing for container gardeners.
What being root bound means and why it matters
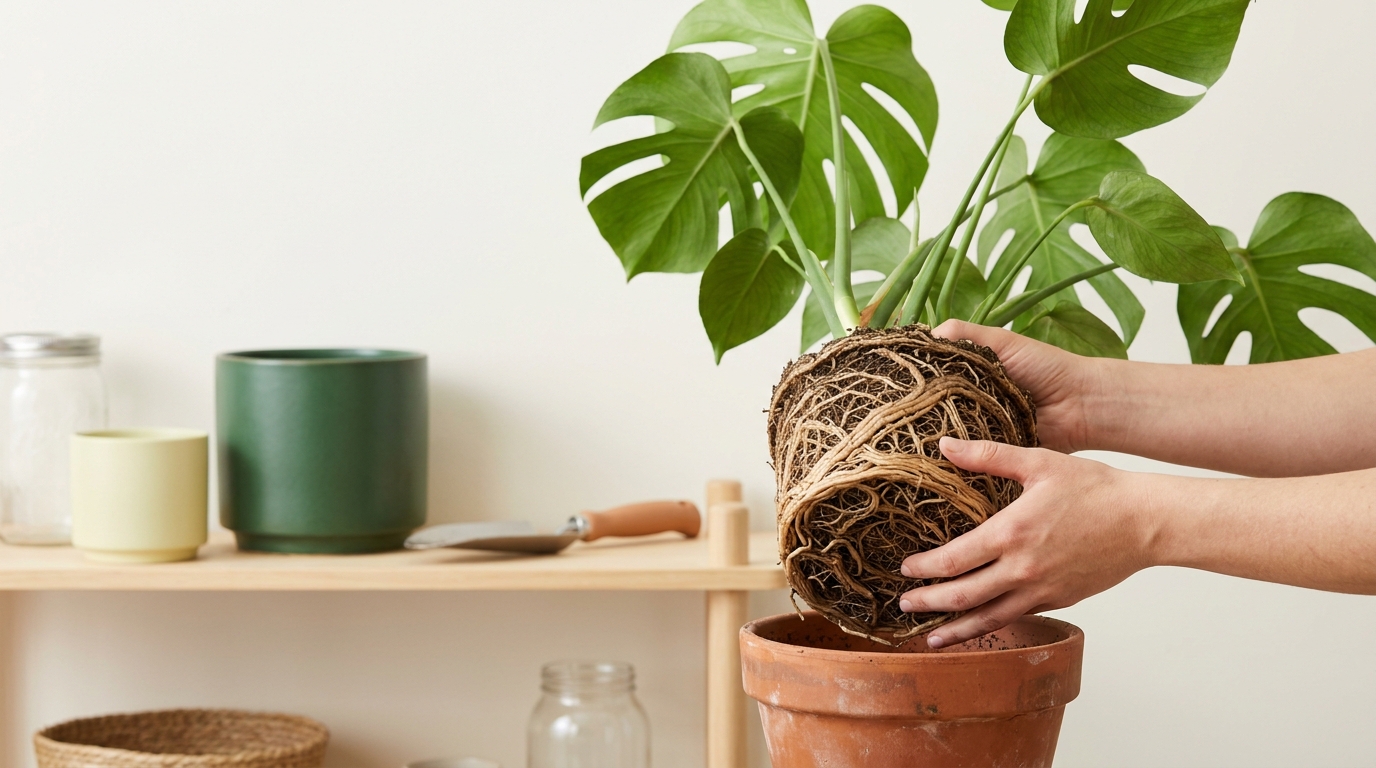
The phrase root bound describes a plant whose roots have filled the available space inside a container so tightly that the root ball limits the plant's ability to grow. For many home gardeners the first sign that a plant is root bound is slow or stalled top growth, but there are several visual and tactile clues you can use before you decide to take action. Early recognition makes repotting root bound plants easier and less stressful for the plant.
Signs to look for when you inspect a container include visible roots at the surface, a mass of roots circling the pot interior, soil that dries quickly yet the plant shows wilting, and a plant that becomes top-heavy while the pot seems light. Gently tipping the pot can let you see if the root ball holds together or slides out. Those simple checks will tell you whether the issue is crowded roots rather than a soil or watering problem.
- Roots visible at the soil surface or emerging from drainage holes
- Soil pulling away from the pot walls and roots growing in a tight ring
- Frequent wilting even when the pot feels dry or light
- Poor new growth or smaller-than-normal leaves
- Plant easily lifts out with a dense root ball rather than loose soil
Can a plant recover from being root bound?
Yes, many plants recover from being root bound if the roots are healthy and you follow a careful assessment and repotting routine, but recovery depends on species, root health, and aftercare.
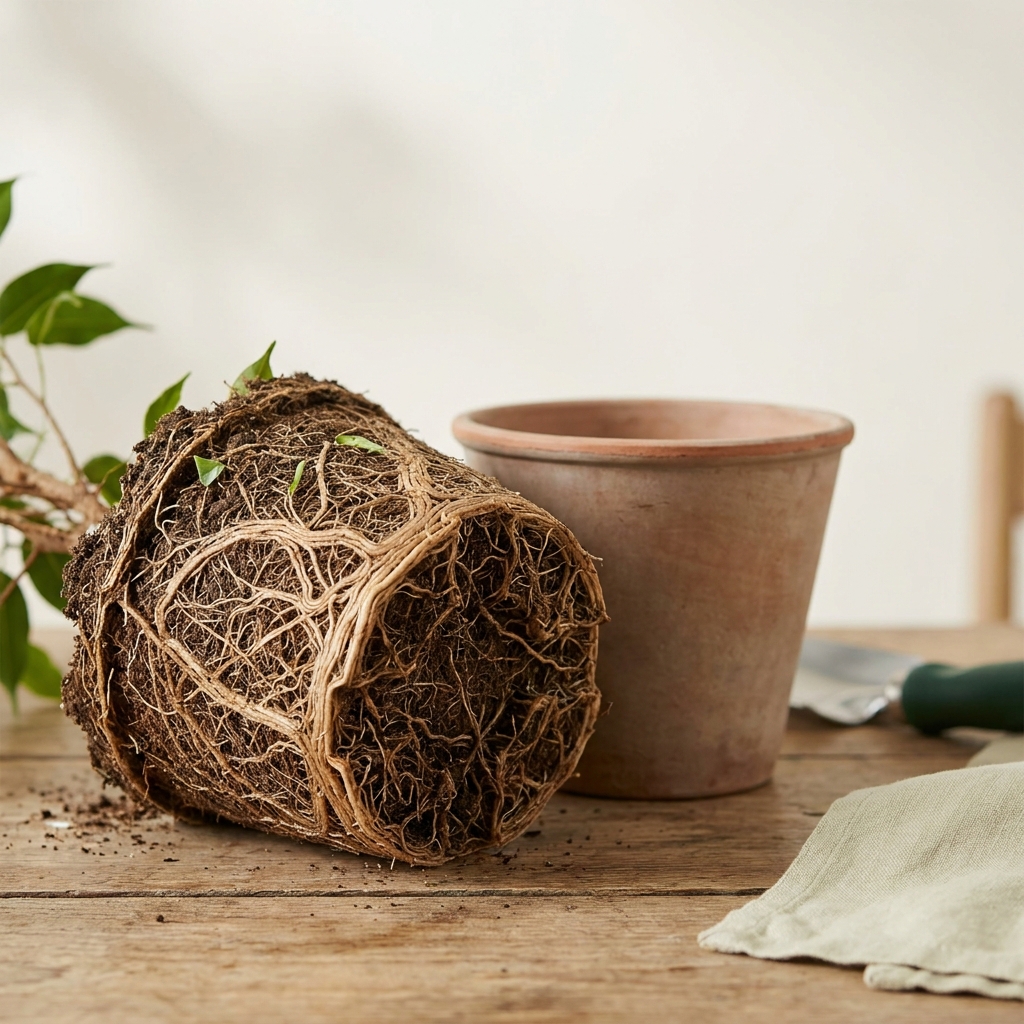
When roots fill a pot, they can change how water moves through the container and how the plant anchors itself. In a healthy container the potting mix holds moisture, drains excess, and gives roots space to spread. In a crowded root ball, channels through the soil are reduced and water can run off or be used unevenly, which makes it harder for the plant to take up water reliably. Limited root volume also reduces the plant's access to nutrients and space to store reserves, which can slow growth or stress the top growth when the weather is hot or dry.
Root-bound conditions can be more or less serious depending on the plant and the container. Some plants tolerate a snug root ball and remain vigorous for a season or two, while others show stress quickly. Container material, drainage, and the original potting mix all affect how a root-bound plant will behave. The practical result is that knowing what to look for lets you choose between gentle root pruning, moving to a larger pot, or replacing the plant.
Quick assessment: can this plant recover?
Before you start repotting root bound plants, take a calm, step-by-step look so you can choose the least disruptive option. The quick assessment below is low-tech and designed to work in small spaces with common household tools.
Step 1, visual scan: Is the plant still producing new leaves or flowers? Is the foliage a normal color and not severely wilted or spotted? If the plant is actively pushing new growth, it often has a good chance to recover with a modest intervention.
Step 2, lift and feel: Gently tip the pot and try to ease the plant free. If the root ball comes out intact and feels dense, the plant is likely root bound. If the soil crumbles and roots are sparse, the problem may be poor mix or watering instead.
Step 3, inspect roots: Healthy roots are firm and creamy or pale in color. Roots that are black, slimy, or smell sour show rot and need a different response than simple crowding. If the root ball is tightly circling and healthy looking, you can usually try repotting with confidence.

Step 4, consider the plant type and growth habit: Many flowering houseplants and annuals respond well to a careful repot and some root pruning. Woody shrubs and older perennials may be more sensitive; for those, the decision may favor division, planting into fresh soil in the same pot, or replacing the specimen if it is already declining. Take into account how long you have had the plant and whether you can give it a short recovery period in lower light.
Step 5, practical constraints: Ask whether you have a larger pot available, the right potting soil, and a sheltered spot to let the plant settle after repotting. If you are working in a balcony or small indoor space, consider whether you can move the plant to a temporary spot that protects it from wind and bright sun for a few weeks.
Use this assessment to pick one practical path. If the plant shows mostly healthy roots and steady top growth, a careful repot or modest root pruning can often restore vigor. If roots are diseased, or the top growth is brittle and failing despite good care, removal and replacement may be simpler and kinder to your time and space.
Step-by-step: how to repotting root bound plants safely
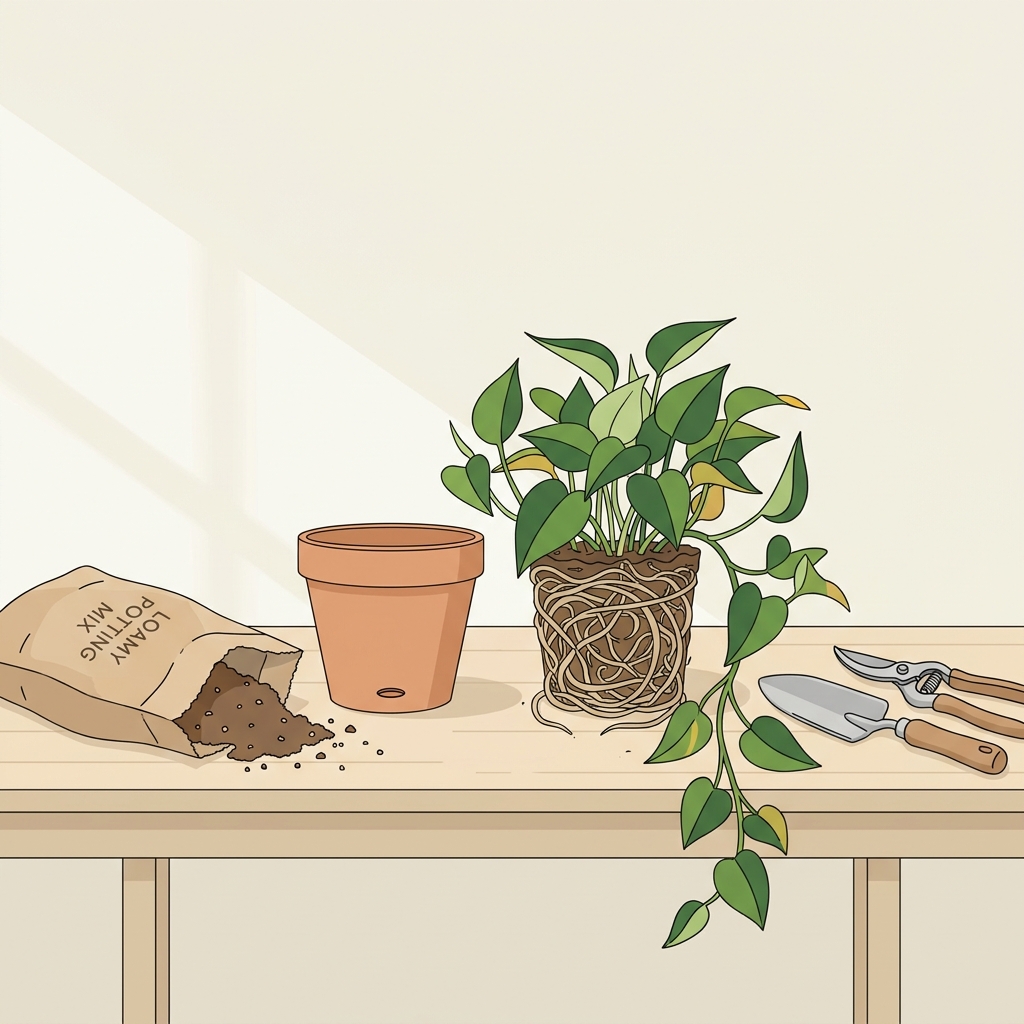
Prepare the new pot by placing a layer of fresh potting soil in the base so the plant will sit at roughly the same depth as before. For container repotting, choose a pot that is one size larger in diameter for most houseplants; for woody plants select a container that gives several extra liters of soil volume if space allows. Avoid oversized containers that hold excessive moisture and can delay drying between waterings. For help choosing the right container, see our guide to plant pots and containers.
To remove the plant from its pot, gently turn the container on its side and ease the rim with your hand while supporting the stem or crown. If the plant resists, tap the pot sides or run a blunt knife around the inside edge to loosen compacted soil. Lift the plant by its root ball rather than by its stem to avoid injury.
Inspect the root ball carefully. If roots are circling densely, use your fingers or a fork to tease the outer roots away and loosen the ball. For very tight circles you can make several vertical cuts through the outer root mass with scissors and then gently loosen the sections. If roots are healthy but compacted, light loosening often helps them grow outward into the new mix.When pruning roots, remove only what is necessary to encourage outward growth. Trim obviously dead, blackened, or mushy roots back to firm tissue using clean scissors. Avoid removing more than a quarter to a third of the root mass for most plants in one session, because removing too much can stress the plant. Small, vigorous houseplants tolerate modest pruning better than older, woody specimens.
Position the plant in the new pot so the top of the original root ball sits about an inch below the new rim on small pots, or slightly lower in larger containers. Backfill with potting soil, firming gently to remove large air pockets but not compacting the mix tight. Water thoroughly to settle the soil and help contact between roots and the new mix.
Aftercare for the first two to four weeks includes placing the plant in a sheltered location with steady light rather than direct midday sun, keeping the soil evenly moist but not waterlogged, and avoiding fertilizer until you see evidence of new growth. Monitor the plant for wilting or leaf drop. Some leaf drop is normal as the plant redirects energy to root recovery; keep observing but do not overreact with excessive watering or feeding.
Decision criteria: when to prune roots, when to choose a larger pot, when to divide
Choosing between root pruning, upsizing, or dividing depends on the plant species, pot dimensions, and your space. Use these criteria to decide the most appropriate intervention.
If the plant is healthy, showing steady top growth, and the pot is only a size or two too small, choose root pruning and container repotting. This approach keeps plants compact and works well in small-space gardening where large pots are impractical.
If the plant is vigorous and you have room for a larger container, upsizing the pot gives roots more volume to explore and can be the least invasive option. Choose a pot that increases soil volume without creating a huge jump in diameter, and ensure good drainage so the larger mix can dry between waterings.
Divide crowded perennials when the root ball contains several distinct crowns or shoots and the plant is of a type that tolerates division. Division reduces plant size, rejuvenates growth, and can create extra plants for other containers or gifts. Do division in a season suitable for the species, and be prepared to give divided pieces careful aftercare until they reestablish.
Containment or training may be preferable when space is limited and you want the plant to stay compact. Instead of a larger pot, use root pruning on a regular schedule and refresh the top layer of potting mix to keep the plant healthy without the need to expand footprint. For tips on compact gardening see our small-space gardening guide. Bonsai-style techniques or pruning the top growth can also keep the plant manageable.
Pros and cons, briefly:
- Root pruning: pros - keeps plant small, fits limited space; cons - can stress plant if overdone
- Larger pot: pros - less frequent repotting, more soil reserves; cons - heavier, needs more water control
- Division: pros - rejuvenates perennials, produces more plants; cons - not suitable for all species, requires recovery time
Quick sizing and action checklist for a repot decision
Use the checklist to record what you see and then match that record to the simplest action that meets your space and time constraints. Where in doubt, choose a conservative root pruning and fresh potting mix rather than a very large pot that may complicate watering.
Common mistakes and how to avoid them
Many recoverable setbacks come from avoidable errors. The sections below list typical mistakes and clear alternatives so your repot has the best chance of success.
Mistake: pulling a root-bound plant out roughly and tearing the root ball. Fix: ease the plant from the pot carefully, supporting the root ball as you loosen it, and work on a covered surface to keep the root mass intact while you inspect and selectively prune.
Mistake: removing too much root mass. Fix: trim only clearly dead or circling roots and aim to remove no more than a third of healthy roots at a time. When in doubt, err on leaving more roots and encourage outward growth by loosening rather than heavy cutting.
Mistake: planting too deep or too shallow. Fix: match the original soil line so the crown sits at the same height relative to the rim as before. Many plants dislike having crowns buried in fresh mix or perched too high where roots dry out quickly.
Mistake: choosing an oversized pot. Fix: for most houseplants choose a pot one size larger in diameter; for quick-growing or woody plants choose a modest increase in volume rather than doubling the container size. A very large pot can keep the soil wet for too long and promote rot.
Mistake: overwatering after repotting because leaves look droopy. Fix: water thoroughly once to settle soil, then allow the top of the mix to feel slightly dry before watering again. If the plant wilts in the days after repotting, check roots for rot and keep the plant in lower light while it recovers.
Mistake: skipping drainage. Fix: always use a pot with drainage holes and a free-draining mix. If a decorative outer pot lacks holes, place the potted plant in it as a cachepot rather than planting directly into it.
Practical scenarios and quick troubleshooting
Scenario 1, a houseplant rescue. A balsam or philodendron in a 6 inch pot is showing slow leaf production and roots at the surface. Using the quick assessment you find a compact, healthy-looking root ball. You decide to repot into a one-size-larger container, gently loosen the outer roots, prune a few circling roots, and give the plant two weeks in bright, indirect light while keeping the soil slightly moist. Observe for new shoots before resuming regular fertilizing.
Scenario 2, an outdoor container shrub. A container-grown shrub in summer shows frequent wilting and shallow roots visible through the surface. The shrub is mature and the pot is small for its size. Options include moving to a larger container with better soil volume, dividing if the species and root structure allow, or replacing with a more appropriately sized plant. For large shrubs, consider whether the container will fit your space permanently before investing in a much larger pot.
Troubleshooting checklist if recovery stalls after repotting:
- Check soil moisture and drainage; avoid both waterlogging and prolonged dryness
- Inspect roots for rot or pests if leaves continue to decline
- Ensure the plant is not in direct, harsh sun while recovering
- Delay fertilizing until new growth appears
- Consider moving to a slightly smaller container or dividing if space and species permit
Expect some leaf drop after repotting as the plant reallocates resources to root recovery; this is not always a sign of failure. Be patient, monitor moisture and light, and apply small corrections rather than large interventions. Most container plants that were root bound but otherwise healthy show measurable improvement if given fresh soil, proper light, and careful watering.
Frequently asked questions
How soon will a repotted plant show signs of recovery?
Recovery time varies by species and condition; expect to wait several weeks to see steady new growth, while leaves may drop or appear thin initially.
Can I reuse old potting soil when repotting a root-bound plant?
Reusing old soil is not recommended because it may be depleted or compacted; use fresh, well-draining potting mix for better root recovery.
Is root pruning safe for woody shrubs in containers?
Woody shrubs can be sensitive; prune conservatively and consider division or a larger pot when possible to reduce stress.
A root-bound plant is not always a lost cause. With a calm assessment and a careful repotting or pruning choice, many container plants regain vigor and keep serving your space. Protect your time and energy by choosing the least invasive option that meets your needs. If a plant does not recover despite best efforts, replacing it and using the experience to refine pot size and soil choices is a practical outcome for many small-space gardeners.
References
- https://forest.london/blogs/houseplants-plant-care/the-ultimate-repotting-guide-what-to-look-out-for-and-how-to-fix-common-mistakes
- https://hardyhouseplant.com/care/repotting/
- https://www.mossify.ca/es/blogs/meet-the-bloggers/how-to-loosen-a-root-ball-before-repotting-tips-tricks?srsltid=AU7gw4VAD6JIhrGWoaodgs0vDOYmZDEmORlZPb2YV7ZQTUv40sXtuyYB
- https://gardeninreach.com/guides/plant-pots-and-containers/
- https://gardeninreach.com/guides/potting-mix-and-plant-care/
- https://gardeninreach.com/guides/small-space-gardening/